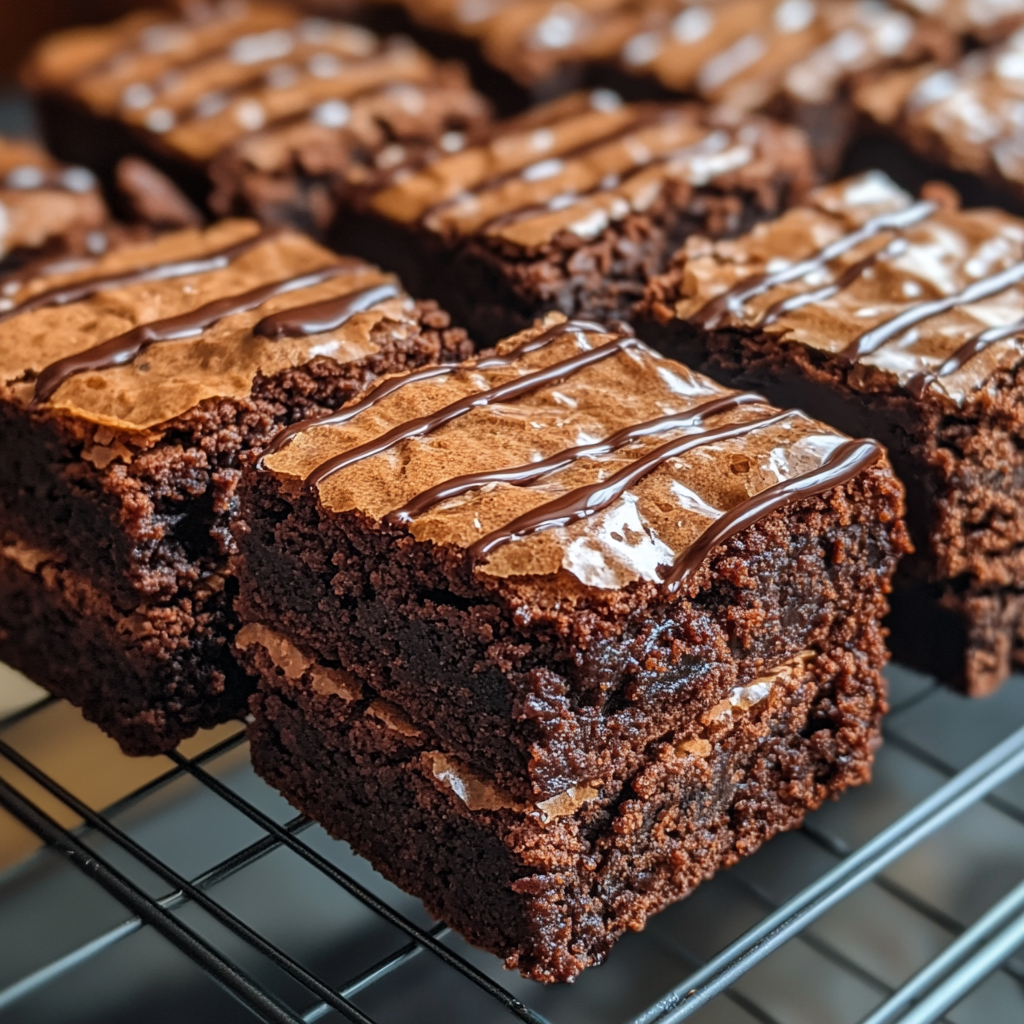
Oh, hello there, my fellow kitchen adventurers!
I know life gets super busy, right?
Between work, family, and everything in between, sometimes baking feels like a dream.
But what if I told you about a dessert that’s quick, easy, and absolutely adorable?
Enter the wonderful world of Cookie Cups!
These little edible wonders are my secret weapon.
They bring so much joy with so little fuss.
Imagine soft, chewy cookies in a perfect cup shape.
You can fill them with anything your heart desires.
It’s a delightful twist on a classic treat.
This recipe is truly a game-changer.
It’s perfect for busy moms and professionals.
You’ll impress everyone with minimal effort.
Trust me, these will become your new go-to!
Table of Contents
Why You’ll Love These Cookie Cups
These little beauties are more than just a dessert.
They’re a lifesaver for your busy schedule.
I promise, they taste amazing and look impressive too.
You’ll love how simple they are to make.
They’re a guaranteed crowd-pleaser every time.
Plus, they bring such a smile to everyone’s face!
Who doesn’t adore a cute, edible cup?
The Perfect Dessert for Busy Lives
As a busy mom myself, I get it.
Time is always in short supply.
These cookie cups are my go-to for quick treats.
They whip up in a flash, honestly.
You can even prep the dough ahead of time.
Less stress means more joy in your kitchen.
They’re perfect for those unexpected guests too.
A Versatile Treat for Any Occasion
Think beyond just a simple cookie!
These cookie cups are like a blank canvas.
Fill them with ice cream for a summer party.
Maybe some pudding for a cozy night in.
They’re fantastic for birthdays or potlucks.
Change the fillings to match any holiday theme.
They truly fit every single celebration.
Ingredients for Delicious Cookie Cups
Okay, let’s talk ingredients!
You know, the heart of any good recipe.
The full list, with exact amounts, is at the end.
You can even print it out easily!

Pantry Staples You Likely Have
First up, butter, of course!
I always use unsalted, but salted works too.
You’ll need both granulated and brown sugar.
They give our cookie cups that perfect chew.
Eggs are next, for structure and richness.
And vanilla extract, my absolute favorite.
It adds that warm, comforting flavour.
All-purpose flour is our sturdy base.
Baking soda helps them rise just right.
A little salt balances all the sweetness.
The Secret to Perfect Cookie Cups
Now, for the real stars: chocolate chips!
I usually go for semi-sweet, but milk is lovely.
These make our cookie cups truly irresistible.
They melt into gooey pockets of joy.
Don’t skimp on the quality here.
Optional Add-Ins for Your Cookie Cups
This is where the fun really begins!
You can totally customize these cookie cups.
Try white chocolate chips for a change.
Maybe some chopped nuts for crunch.
Sprinkles are always a festive touch!
Or even crushed candies, oh my!
Let your imagination run wild, friend.
How to Make Cookie Cups
Alright, let’s get baking!
Making these cookie cups is super straightforward.
You’ll be a pro in no time, I promise.
Just follow these simple steps with me.
Soon, you’ll have delicious cookie cups ready.
Preparing Your Workstation
Before mixing, we set up our space.
This makes everything go smoothly, truly.
Preheating and Greasing
First, preheat your oven to 375°F.
That’s about 190°C for my international friends.
Grab a 12-cup muffin tin, your trusty companion.
Lightly grease each cup, don’t forget this!
This ensures our lovely cookie cups release easily.
Mixing the Dough for Your Cookie Cups
Now comes the fun part: making the dough.
It’s the heart of our amazing cookie cups.
Creaming the Wet Ingredients
In a big bowl, combine softened butter.
Add both granulated and brown sugar to it.
Cream them until light and fluffy, like clouds.
This creates an airy base for our cookie cups.
Beat in eggs, one at a time, very gently.
Then stir in that glorious vanilla extract.
Combining Dry and Wet
In a separate bowl, whisk together flour.
Include baking soda and salt, mix well.
Gradually add these dry bits to the wet.
Mix just until combined, don’t overdo it!
Overmixing toughens your cookie cups, trust me.
Folding in the Good Stuff
Now, fold in your chosen mix-ins.
Chocolate chips are a classic for cookie cups.
Ensure they’re evenly distributed throughout.
This step makes every bite exciting.
Baking Your Cookie Cups to Perfection
The oven is waiting, let’s get them in!
Soon, your home will smell heavenly.
Scooping into the Muffin Tin
Scoop about 2-3 tablespoons of dough.
Place it into each muffin cup, neatly.
Don’t overfill them; they will expand.
The Golden Rule of Baking

Bake for 12-15 minutes, watch closely.
The edges should be golden brown, just so.
Centers should be set, not wobbly at all.
Each oven is different, so keep an eye out.
Creating the Iconic Cookie Cup Shape
This is where the magic truly happens!
It’s how we get those perfect cookie cups.
Pressing the Centers
Right after baking, act quickly!
Use a small spoon or measuring spoon back.
Gently press down the center of each cookie.
This creates that lovely cup shape for fillings.
Be careful, they are hot, my friend!
Cooling and Filling Your Cookie Cups
Patience is key for the best results.
Soon, you’ll be enjoying your delicious cookie cups.
Cooling Down
Let them cool in the tin for 10-15 minutes.
This helps them firm up and hold their shape.
Then, carefully remove to a wire rack.
Let them cool completely, it’s important.
Ready for Your Favorite Fillings
Once cool, the world is your oyster!
Fill your cookie cups with anything you fancy.
Ice cream, pudding, fruit, whipped cream, yum!
Serve them up and enjoy your edible wonders!
Tips for Success
Want your cookie cups to be absolutely perfect?
I’ve learned a few tricks over the years.
These simple tips will make a big difference.
They ensure delicious results every single time.
You’ll be making bakery-worthy treats, I promise.
Achieving the Ideal Texture
- Don’t overmix your cookie dough.
- That makes them tough, nobody wants that!
- Underbaking slightly keeps them chewy.
- Golden edges mean they are just right.
- Press centers immediately after baking.
- This creates the perfect cup shape.
Storage and Freshness for Cookie Cups
- Store baked cookie cups in an airtight container.
- They stay fresh at room temperature for 3 days.
- Fill them right before serving for best results.
- This stops them from getting soft or soggy.
- You can freeze unfilled cookie cups too.
- Just thaw and fill when ready to enjoy.
Equipment Needed
Having the right tools helps a lot.
But don’t worry if you lack something specific.
There are always clever ways around it.
Baking should be fun, not a scavenger hunt!
Essential Baking Tools
- A sturdy mixing bowl is a must.
- You’ll need measuring cups and spoons.
- An electric mixer makes creaming easy.
- A 12-cup muffin tin is essential here.
- A small spoon or a measuring spoon.
- This helps create those perfect cookie cups.
- A wire rack for cooling is very useful.
Handy Substitutions
- No electric mixer? Use a strong whisk!
- A regular spoon works for pressing centers.
- If no muffin tin, they’ll be flat cookies.
- Still delicious, just not cookie cups.
- Parchment paper helps with sticking.
- That’s if you’re worried about release.
Variations
One of my favorite things about baking?
It’s how you can make a recipe your own!
These cookie cups are incredibly versatile.
Here are some fun ways to switch them up.
Get creative and let your taste buds guide you.
Flavorful Twists on Cookie Cups
- Try different kinds of chocolate chips.
- White, dark, or butterscotch chips are great.
- Add a teaspoon of almond extract.
- It gives a lovely nutty undertone.
- Mix in some dried cranberries or raisins.
- Orange zest brightens the flavor profile.
- Peanut butter chips are a favorite of mine.
- Sprinkle cinnamon into the dough for warmth.
Dietary Adaptations for Everyone
- For gluten-free cookie cups, use GF flour.
- Ensure it’s a good 1:1 baking blend.
- Swap butter for a plant-based alternative.
- This makes them dairy-free, if needed.
- Use an egg substitute for egg allergies.
- Look for sugar-free chocolate chips.
- Adjust sweeteners for a lower sugar option.
- These small changes can make a big difference.
Holiday-Themed Cookie Cups
- For Halloween, use orange and black sprinkles.
- Fill with green or purple frosting.
- Christmas calls for red and green M&Ms.
- Peppermint extract adds a festive touch.
- For Valentine’s Day, use pink hearts.
- Raspberry filling is divine for lovers.
- Patriotic cookie cups? Red, white, and blue!
- Blueberries and raspberries work perfectly.
Serving Suggestions

You’ve baked these amazing cookie cups!
Now, let’s make them shine even brighter.
Presentation truly makes a difference, doesn’t it?
Here are some ideas to serve them perfectly.
They’ll be the star of any dessert table.
Perfect Pairings for Your Cookie Cups
- A scoop of vanilla bean ice cream is divine.
- Drizzle with warm chocolate fudge sauce.
- Serve with fresh berries like strawberries.
- A dollop of whipped cream is always a winner.
- Pair with a hot cup of coffee or tea.
- Milk, especially cold milk, is classic.
Creative Presentation Ideas
- Arrange them on a beautiful platter.
- Dust with a light sprinkle of powdered sugar.
- Add a small mint leaf for a pop of color.
- Use mini spoons for easy serving.
- Stack them pyramid-style for a wow factor.
- Serve each cookie cup in a paper liner.
FAQs about Cookie Cups
Got questions about these delightful cookie cups?
I’ve got answers to help you out!
Baking should be fun and stress-free.
Let’s dive into some common queries.
Can I make the Cookie Cups dough ahead of time?
Absolutely, yes, you can!
This is a fantastic time-saver, truly.
Prepare the cookie cups dough as directed.
Wrap it tightly in plastic wrap or foil.
Store it in the refrigerator for up to 3 days.
You can also freeze it for up to a month.
Just thaw in the fridge before scooping.
How do I prevent my Cookie Cups from sticking to the muffin tin?
Greasing your muffin tin is super important.
Use butter, baking spray, or even shortening.
Make sure to coat every single cup well.
Don’t skip that step, it’s a game changer!
Let your cookie cups cool slightly in the tin.
This helps them firm up before removal.
A gentle twist often helps them pop out.
What are the best fillings for Cookie Cups?
Oh, the possibilities are truly endless!
My top picks are ice cream or pudding.
Chocolate mousse is also a decadent choice.
Fresh berries and whipped cream are lovely.
Lemon curd adds a bright, tangy flavor.
Nutella or peanut butter are also fantastic.
Get creative with your cookie cups fillings!
Can I freeze baked Cookie Cups?
Yes, you can freeze them un-filled!
Once completely cool, place them in a single layer.
Freeze them on a baking sheet first.
Then transfer to an airtight freezer bag.
They’ll keep well for about 2-3 months.
Thaw at room temperature before filling.
They taste just as fresh, believe me.
What if my Cookie Cups lose their shape after baking?
This can happen if they’re overbaked.
Or if you don’t press the centers quickly enough.
The key is to press the wells immediately.
Do it while they are still hot and pliable.
Make sure your oven temperature is accurate.
A too-hot oven can make them spread too much.
Don’t worry, they’ll still be delicious!
Final Thoughts
And there you have it, my friends!
These delightful cookie cups are more than just a dessert.
They’re a little bite of joy, truly.
Making them fills your home with warmth.
Sharing them brings smiles to every face.
It’s a simple pleasure, easily achieved.
So go ahead, bake a batch today.
Savor the sweetness, embrace the fun.
Happy baking, from my kitchen to yours!
Print
Cookie Cups: Bake Joyful Edible Wonders!
- Total Time: 45-50 minutes
- Yield: 12 cookie cups
- Diet: Vegetarian
Description
These delightful Cookie Cups offer a charming and delicious way to enjoy your favorite cookie dough in a fun, cup-shaped form. Perfect for filling with your favorite treats like ice cream, mousse, or fruit, they are sure to be a hit at any gathering.
Ingredients
- 1 cup (2 sticks) unsalted butter, softened
- 1 cup granulated sugar
- 1 cup packed light brown sugar
- 2 large eggs
- 1 teaspoon vanilla extract
- 3 cups all-purpose flour
- 1 teaspoon baking soda
- ½ teaspoon salt
- 1½ cups chocolate chips (or your favorite mix-ins)
Instructions
- Preheat your oven to 375°F (190°C). Lightly grease a 12-cup muffin tin.
- In a large bowl, cream together the softened butter, granulated sugar, and brown sugar until light and fluffy.
- Beat in the eggs one at a time, then stir in the vanilla extract.
- In a separate bowl, whisk together the all-purpose flour, baking soda, and salt.
- Gradually add the dry ingredients to the wet ingredients, mixing until just combined. Do not overmix.
- Fold in the chocolate chips (or your preferred mix-ins) until evenly distributed.
- Scoop about 2-3 tablespoons of cookie dough into each muffin cup.
- Bake for 12-15 minutes, or until the edges are golden brown and the centers are set.
- Immediately after removing from the oven, use a small spoon or the back of a measuring spoon to gently press down the centers of each cookie cup, creating a well.
- Let the cookie cups cool in the muffin tin for 10-15 minutes before carefully removing them to a wire rack to cool completely.
- Once cooled, fill your cookie cups with your desired fillings such as ice cream, pudding, fruit, or whipped cream.
- Serve and enjoy your delightful edible wonders!
Notes
- For a crispier cookie cup, bake for an additional 1-2 minutes.
- If you don’t have a muffin tin, you can bake these on a baking sheet, but they won’t have the distinct cup shape.
- Experiment with different mix-ins like white chocolate chips, nuts, sprinkles, or even chopped candies.
- These cookie cups can be stored in an airtight container at room temperature for up to 3 days.
- For best results, fill the cookie cups just before serving to prevent them from getting soggy.
- Prep Time: 20 minutes
- Cook Time: 12-15 minutes
- Category: Dessert
- Method: Baking
- Cuisine: American